

Webhooks
Configure and listen to webhook events produced by Chargeflow to automatically notify your system of changes and trigger reactions.
Why Use Webhooks
When integrating with Chargeflow, your application may need to receive real-time notifications for specific events, such as when a new dispute is created. Webhooks provide this capability by allowing you to register an HTTP endpoint that Chargeflow can call whenever a subscribed event occurs.
By using webhooks, your application can respond immediately to new events without relying on periodic API polling. This improves efficiency, reduces unnecessary API calls, and ensures your system remains up to date in real time.
Enabling Webhooks
Before getting started:
- Navigate to your Chargeflow Account Settings
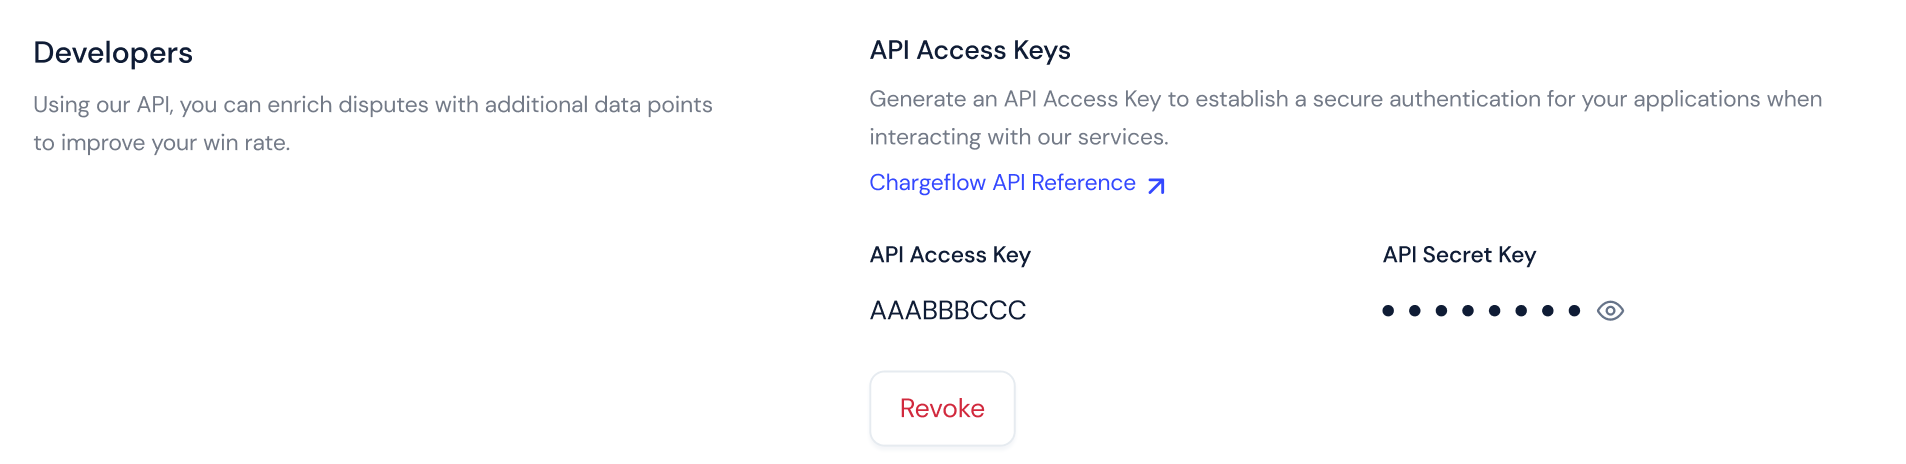
- Scroll to the Developers section
- Generate API Access Keys to obtain your API key and enable webhook configuration.
Once your API keys are available, click + Add Webhook to register your first webhook endpoint and subscribe to the events relevant to your application.
After registration, Chargeflow sends webhook events as HTTP POST requests to your specified endpoint. A successful delivery is confirmed when your endpoint responds with a 2XX status code (preferably 200). If any other response is received, Chargeflow will retry delivery until a 2XX response is returned or the retry limit is reached.
Each webhook event includes key details such as the webhook ID, timestamp, event type, and the associated data payload.
Event Authentication
Each Webhook POST request coming from Chargeflow includes an HMAC signature in the X-Chargeflow-Hmac-Sha256 based on the body, path, and method of the request.
You can use this signature to verify the authenticity and integrity of the request on your side. This way, you can avoid reacting to unauthorized third-party calls to your public Webhook endpoint.
We highly recommend implementing this verification in production systems.
The Secret Key used to sign (and verify) the Webhook requests is available in the Chargeflow's Settings page together with other Webhooks configurations.
The API Secret Key used is currently the same as the primary API Access Keys generated
Example HMAC Verification Code
const crypto = require('crypto')

// Function to generate HMAC-SHA256 signature
function generateHmacSignature(data, secretKey) {
  const hmac = crypto.createHmac('sha256', secretKey);
  hmac.update(data);
  return hmac.digest('hex');
}

function verifySignature(req) {
    const receivedSig = req.headers['x-chargeflow-hmac-sha256'];

    const method = req.method
    const path = req.originalUrl
    const body = JSON.stringify(req.body)

    const dataToSign = `${method}\n${path}\n${body}`;
    const secret = 'your_secret_key'; // Obtain from Chargeflow admin panel
    const hash = generateHmacSignature(dataToSign, secret);
    return receivedSig === hash;
}
Configuring Webhooks
Enable Webhooks
As mentioned above, first, register the webhook event in the Chargeflow Admin console.
Create a Handler
To handle the webhook call, you need to create a simple URL endpoint that:
- Handles
POSTrequests with a JSON payload consisting of an event object. - Quickly returns a successful status code (
2xx) before any complex logic that could cause a timeout.
Example Endpoint
Below is an example Node.js endpoint for handling a Chargeflow webhook. The actual implementation will depend on your system's language and chosen framework.
// This example uses Express to receive webhooks
const express = require('express');
const app = express();

// Match the raw body to content type application/json
// If you are using Express v4 - v4.16 you need to use body-parser, not express, to retrieve the request body
app.post('/webhook', express.json({type: 'application/json'}), (request, response) => {
  const event = request.body;

  // Optionally validate request signature against body from x-chargeflow-hmac-sha256 header

  // Handle the event
  switch (event.type) {
    case 'dispute.ingested':
      const disputeIngested = event.data;
      // Then define and call a method to handle the dispute ingested event data.
      // handleDisputeIngested(disputeIngested);
      break;
    // ... handle other event types
    default:
      console.log(`Unhandled event type ${event.type}`);
  }

  // Return a response to acknowledge receipt of the event
  response.json({received: true});
});

app.listen(8000, () => console.log('Running on port 8000'));
Testing Webhooks
Once your webhook is configured, you can trigger a test payload to support the development and validation of your integration.
After saving your webhook registration, you will be able to send a mock payload for any subscribed event. This can be done by clicking the Test button next to your webhook endpoint, or at any time by accessing the actions menu for the registered endpoint.
Testing from the webhook registration drawer
Testing from the webhook endpoint action menu

List of Webhook event topics
| Webhook Event | Description |
|---|---|
dispute.created | Occurs whenever a new dispute is created. Read more |
alerts.created | Occurs whenever a new alert is created. Read more |
alerts.updated | Occurs whenever an alert outcome is updated. Read more |
alerts.transaction.linked | Occurs whenever an alert is linked to its corresponding PSP transaction. Read more |
The
dispute.createdevent is currently available only in the v2024-03-18 payload format.
Updated 4 months ago